Creating your first event
Last updated May 20, 2026
Creating an event on Jabburr is a short, guided flow. You fill in a few steps, then preview the whole thing before it goes live. Listing is free, and ticketing on free events is free too.
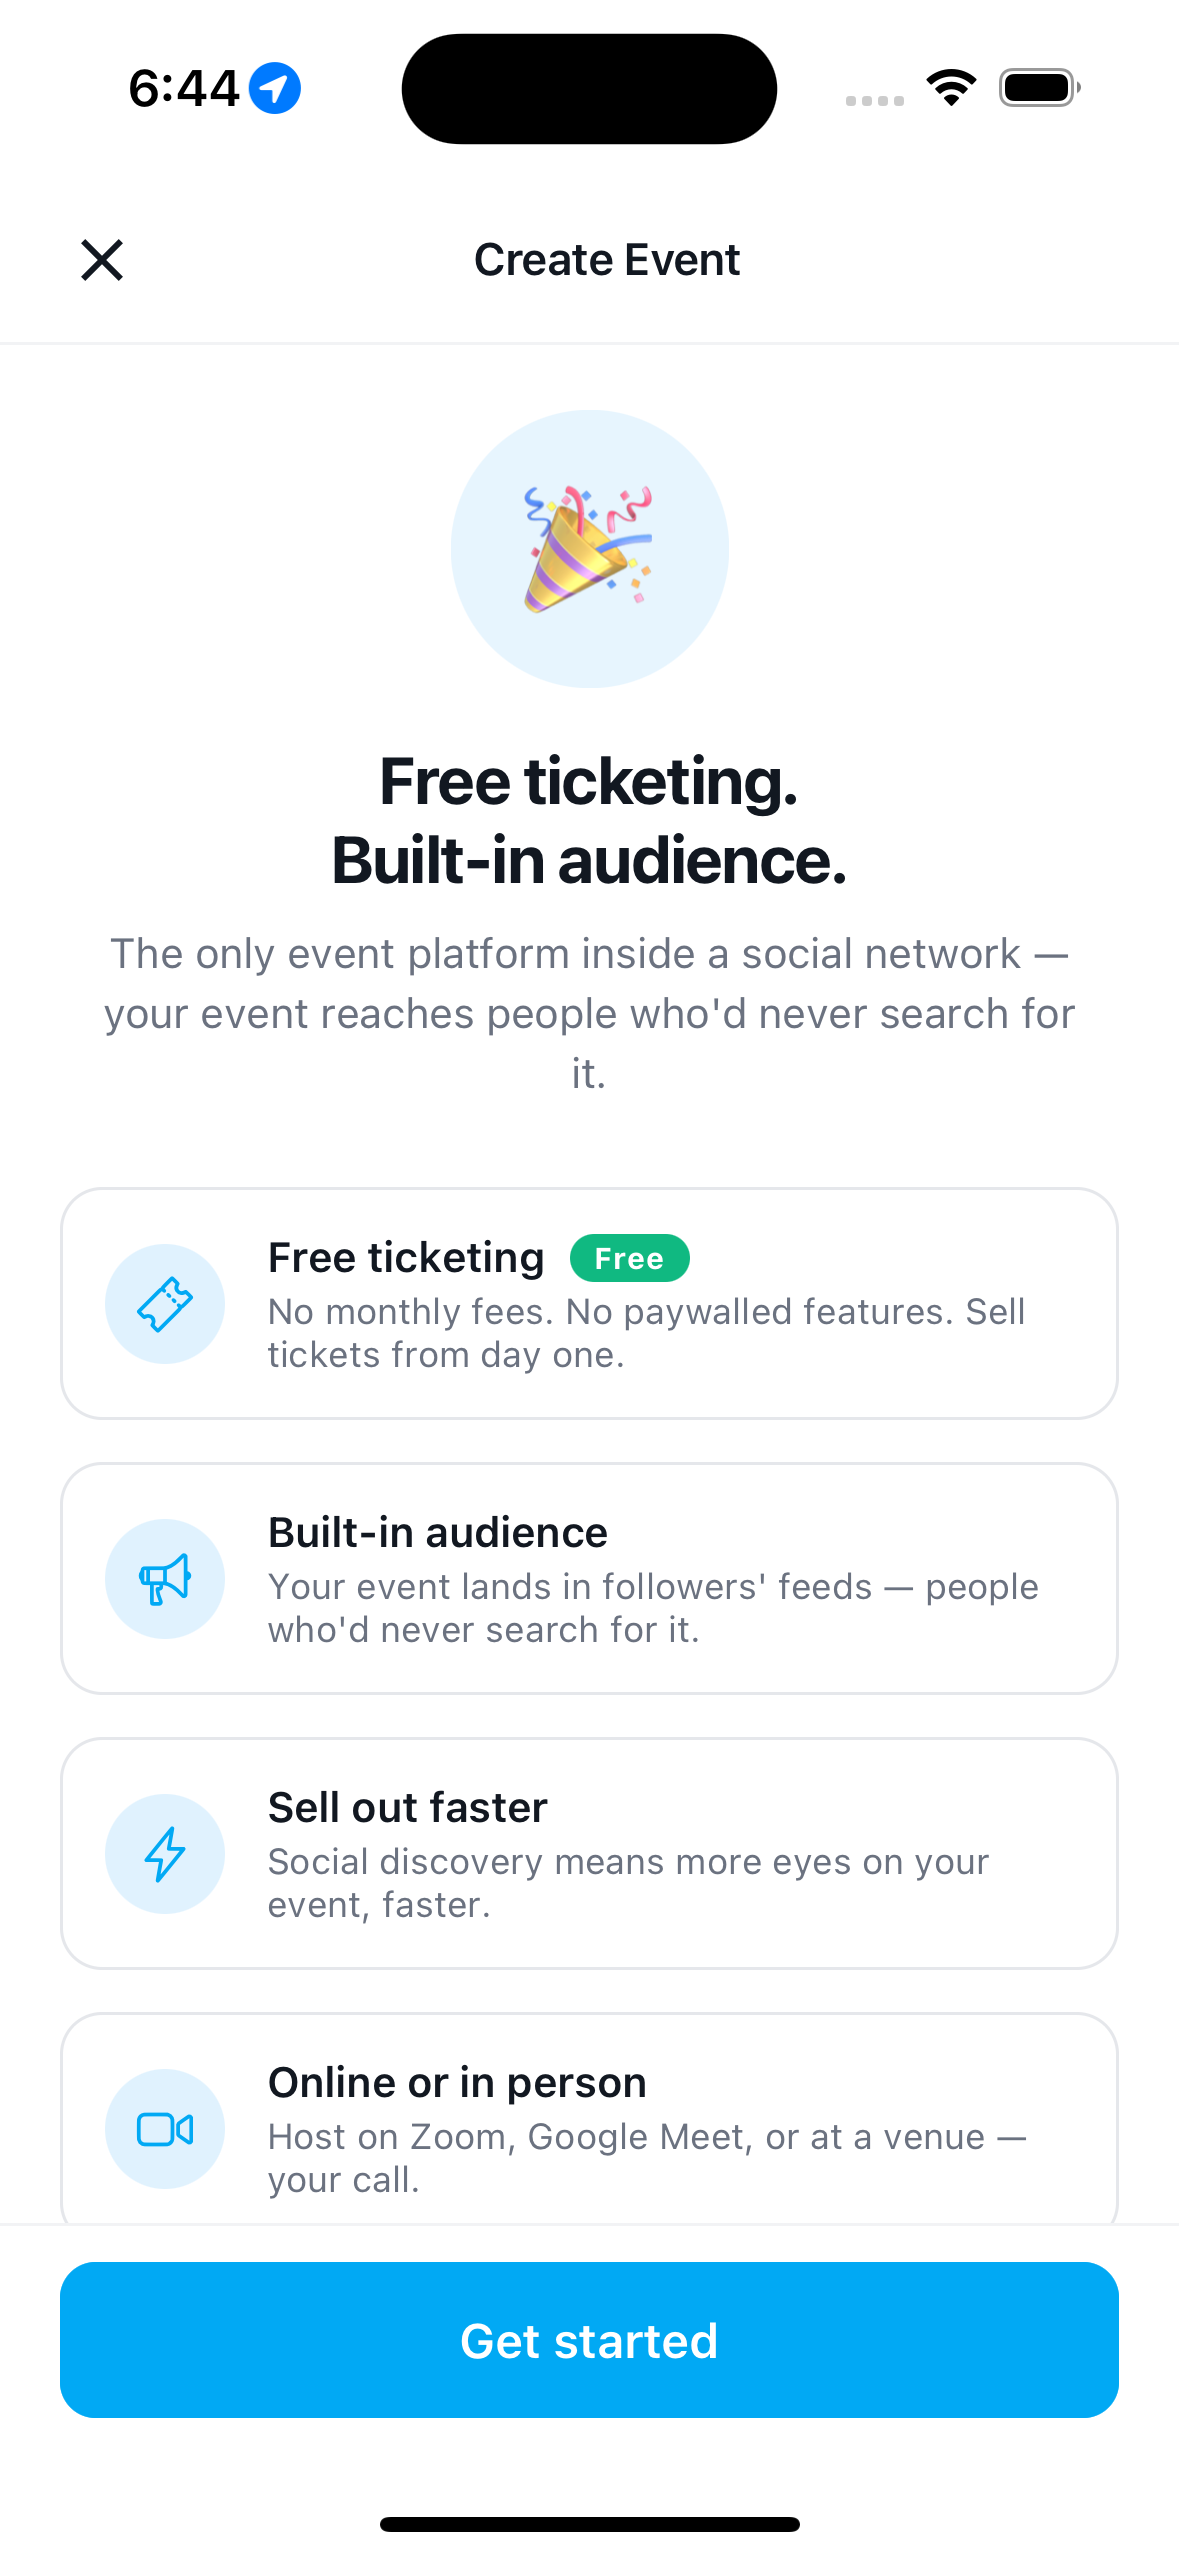
To start, open the Events screen, tap Create, and you'll see the intro below. Tap Get started to begin — a progress bar at the top tracks where you are.
Step 1 — Basic info
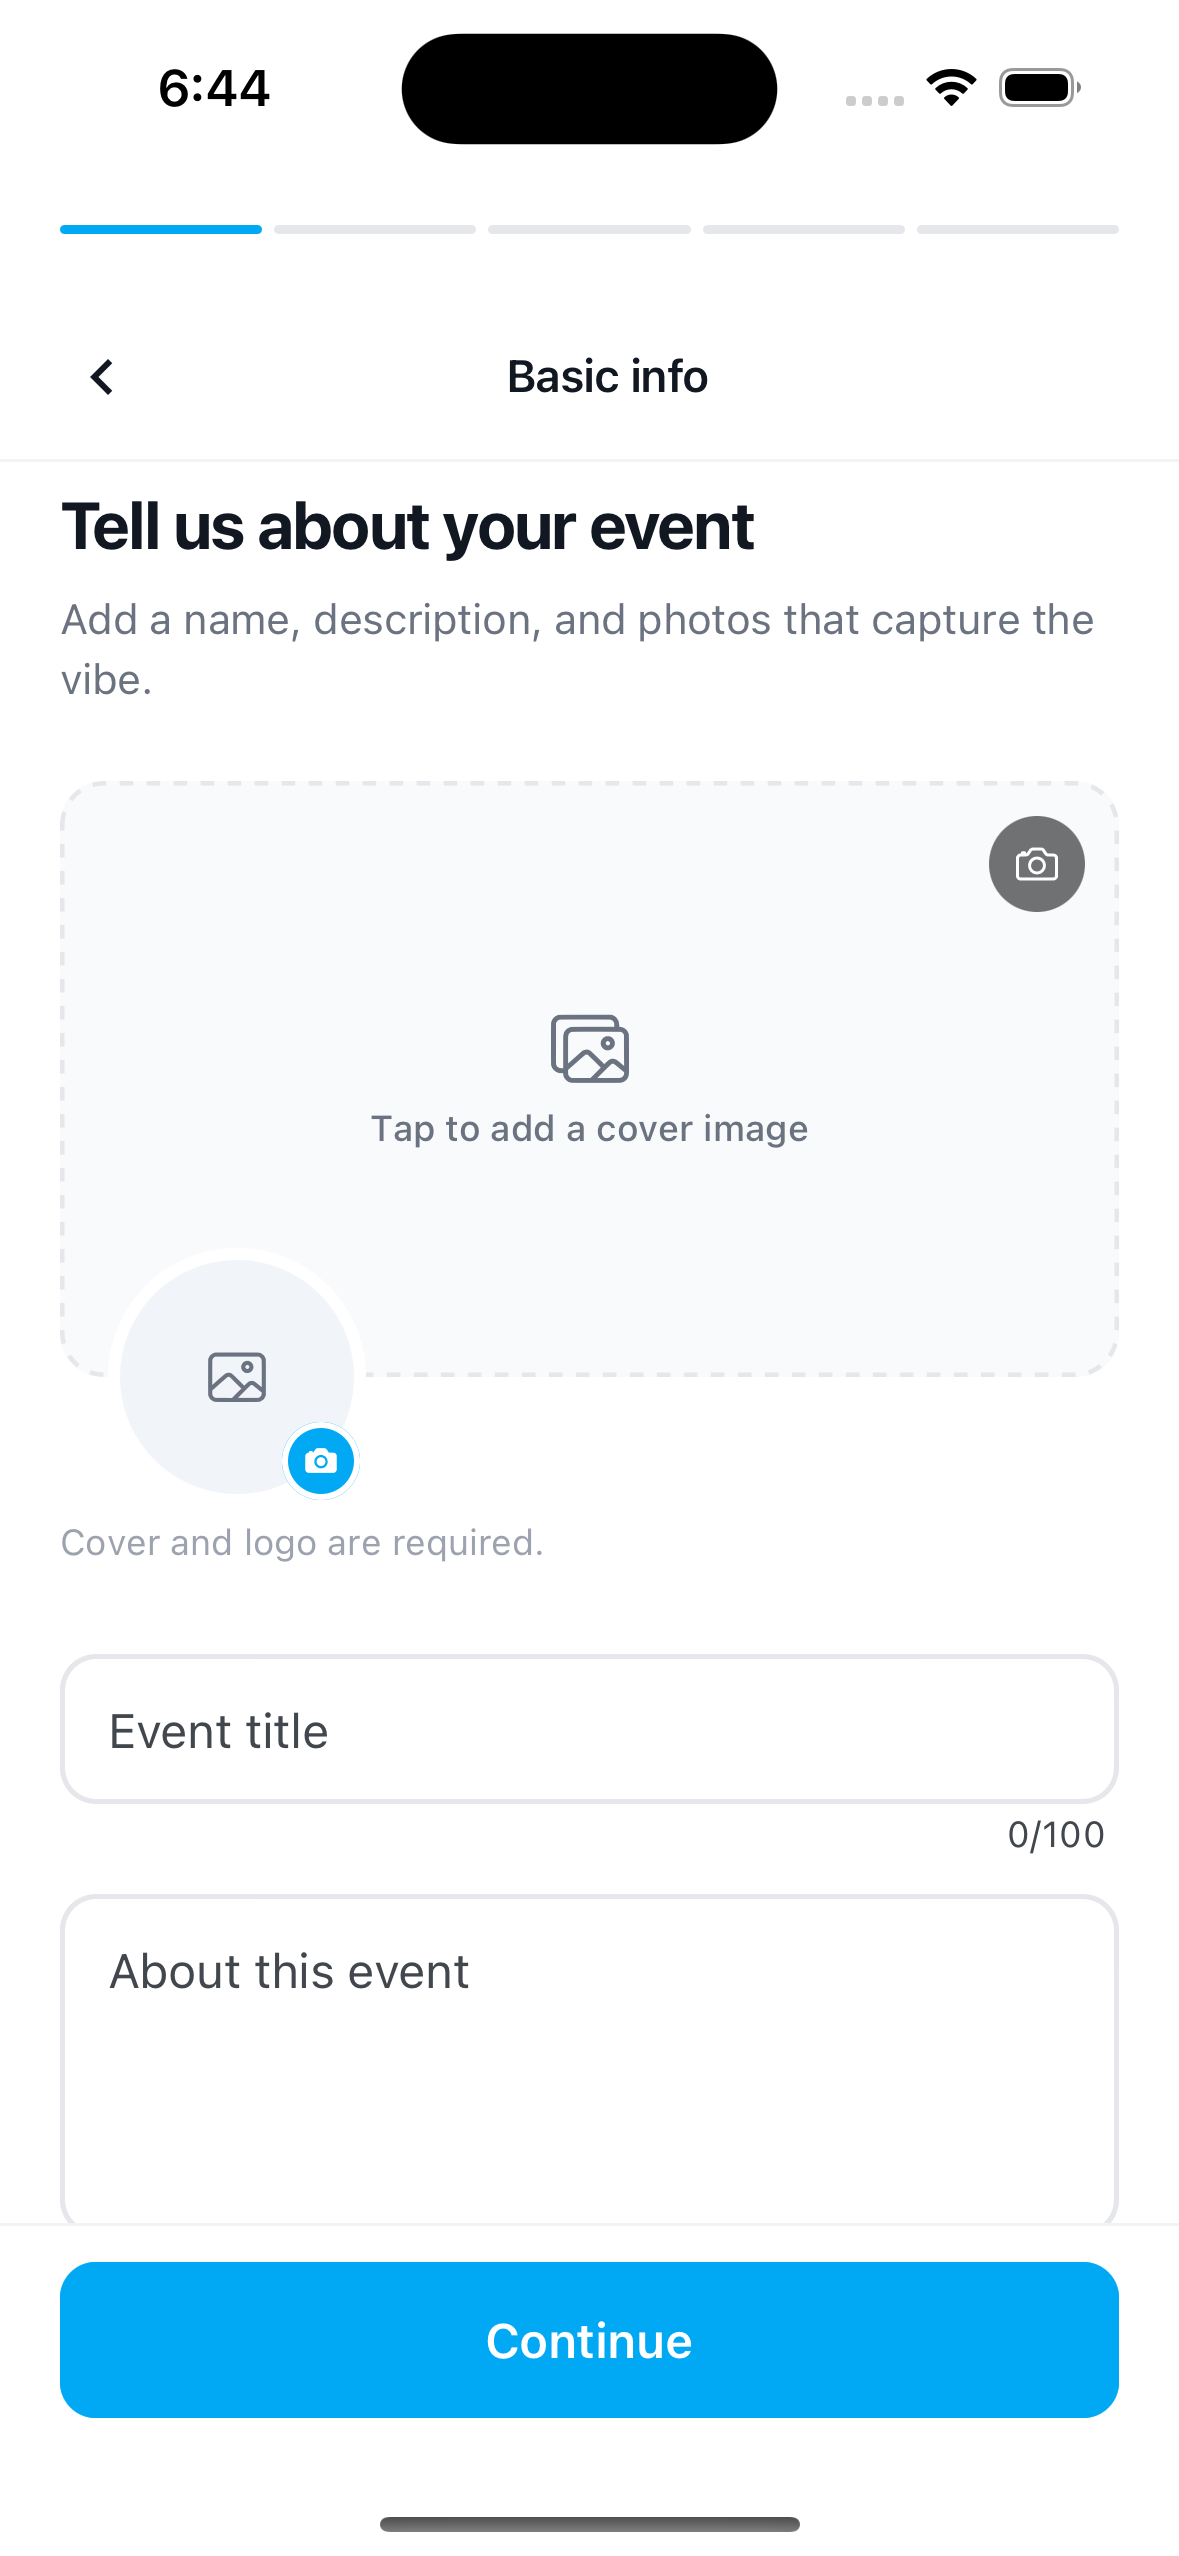
Tell people what the event is. Add a cover image and a logo (both required — they're what people see in the feed), an event title (up to 100 characters), and a short about description.
A strong cover photo is the single biggest driver of RSVPs — use something that captures the vibe.
Step 2 — When & where
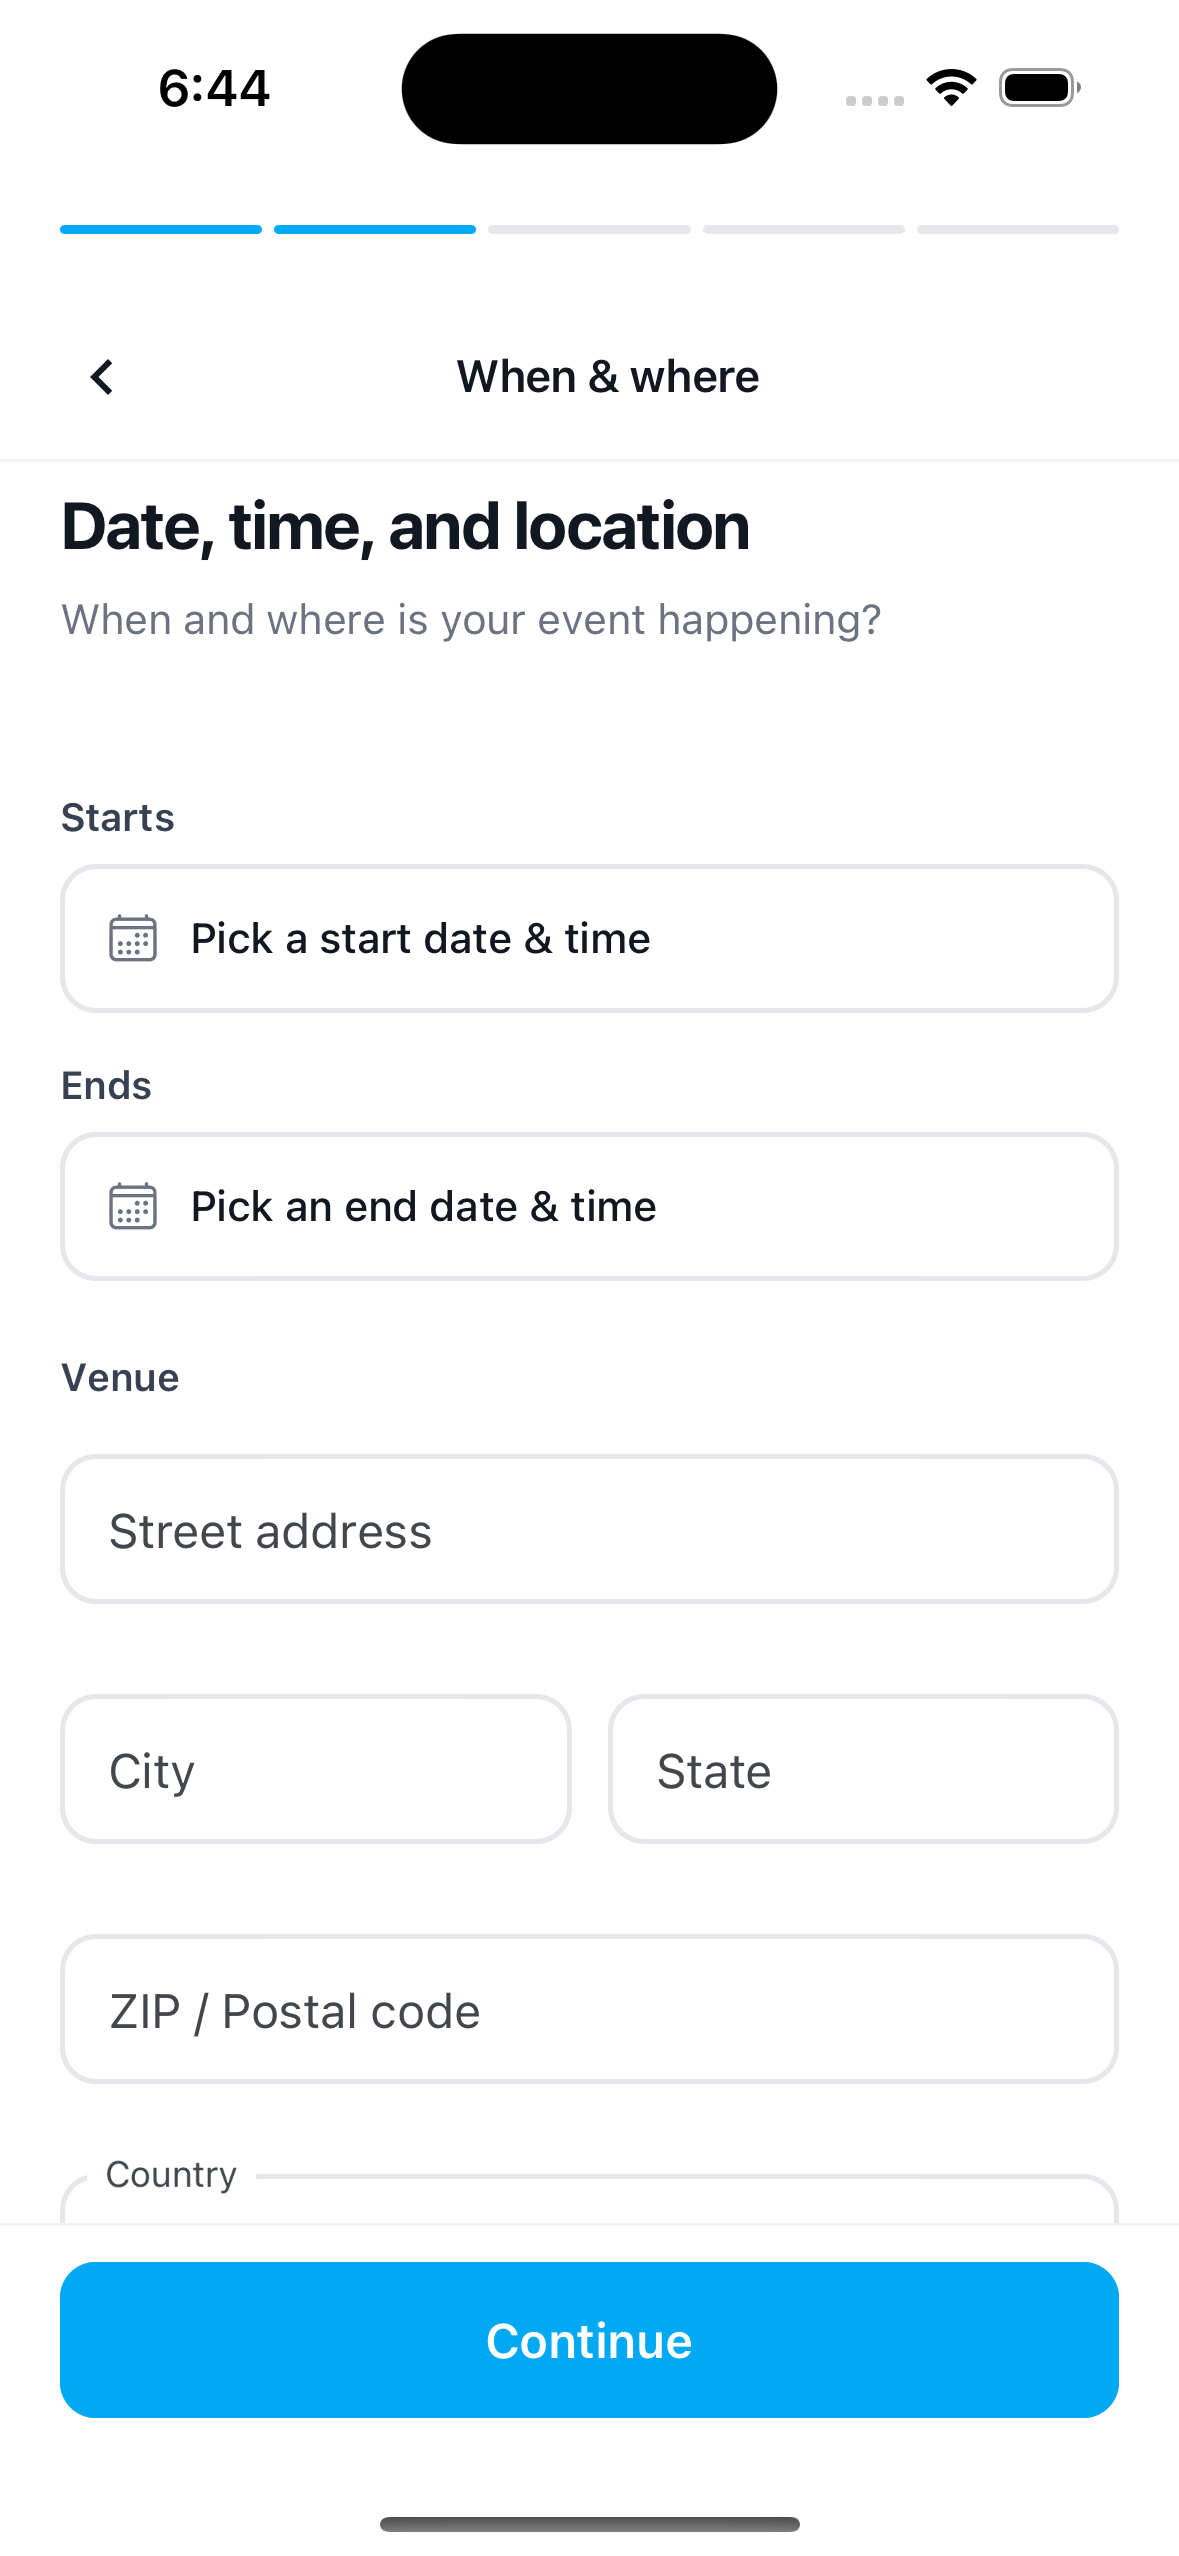
Set when it happens and where.
- Starts and Ends — pick a start and end date & time.
- Venue — street address, city, state, ZIP, and country.
Hosting online instead of at a venue? Jabburr supports online events too — you can host on Zoom or Google Meet and ticket buyers get the link automatically.
Step 3 — Categories
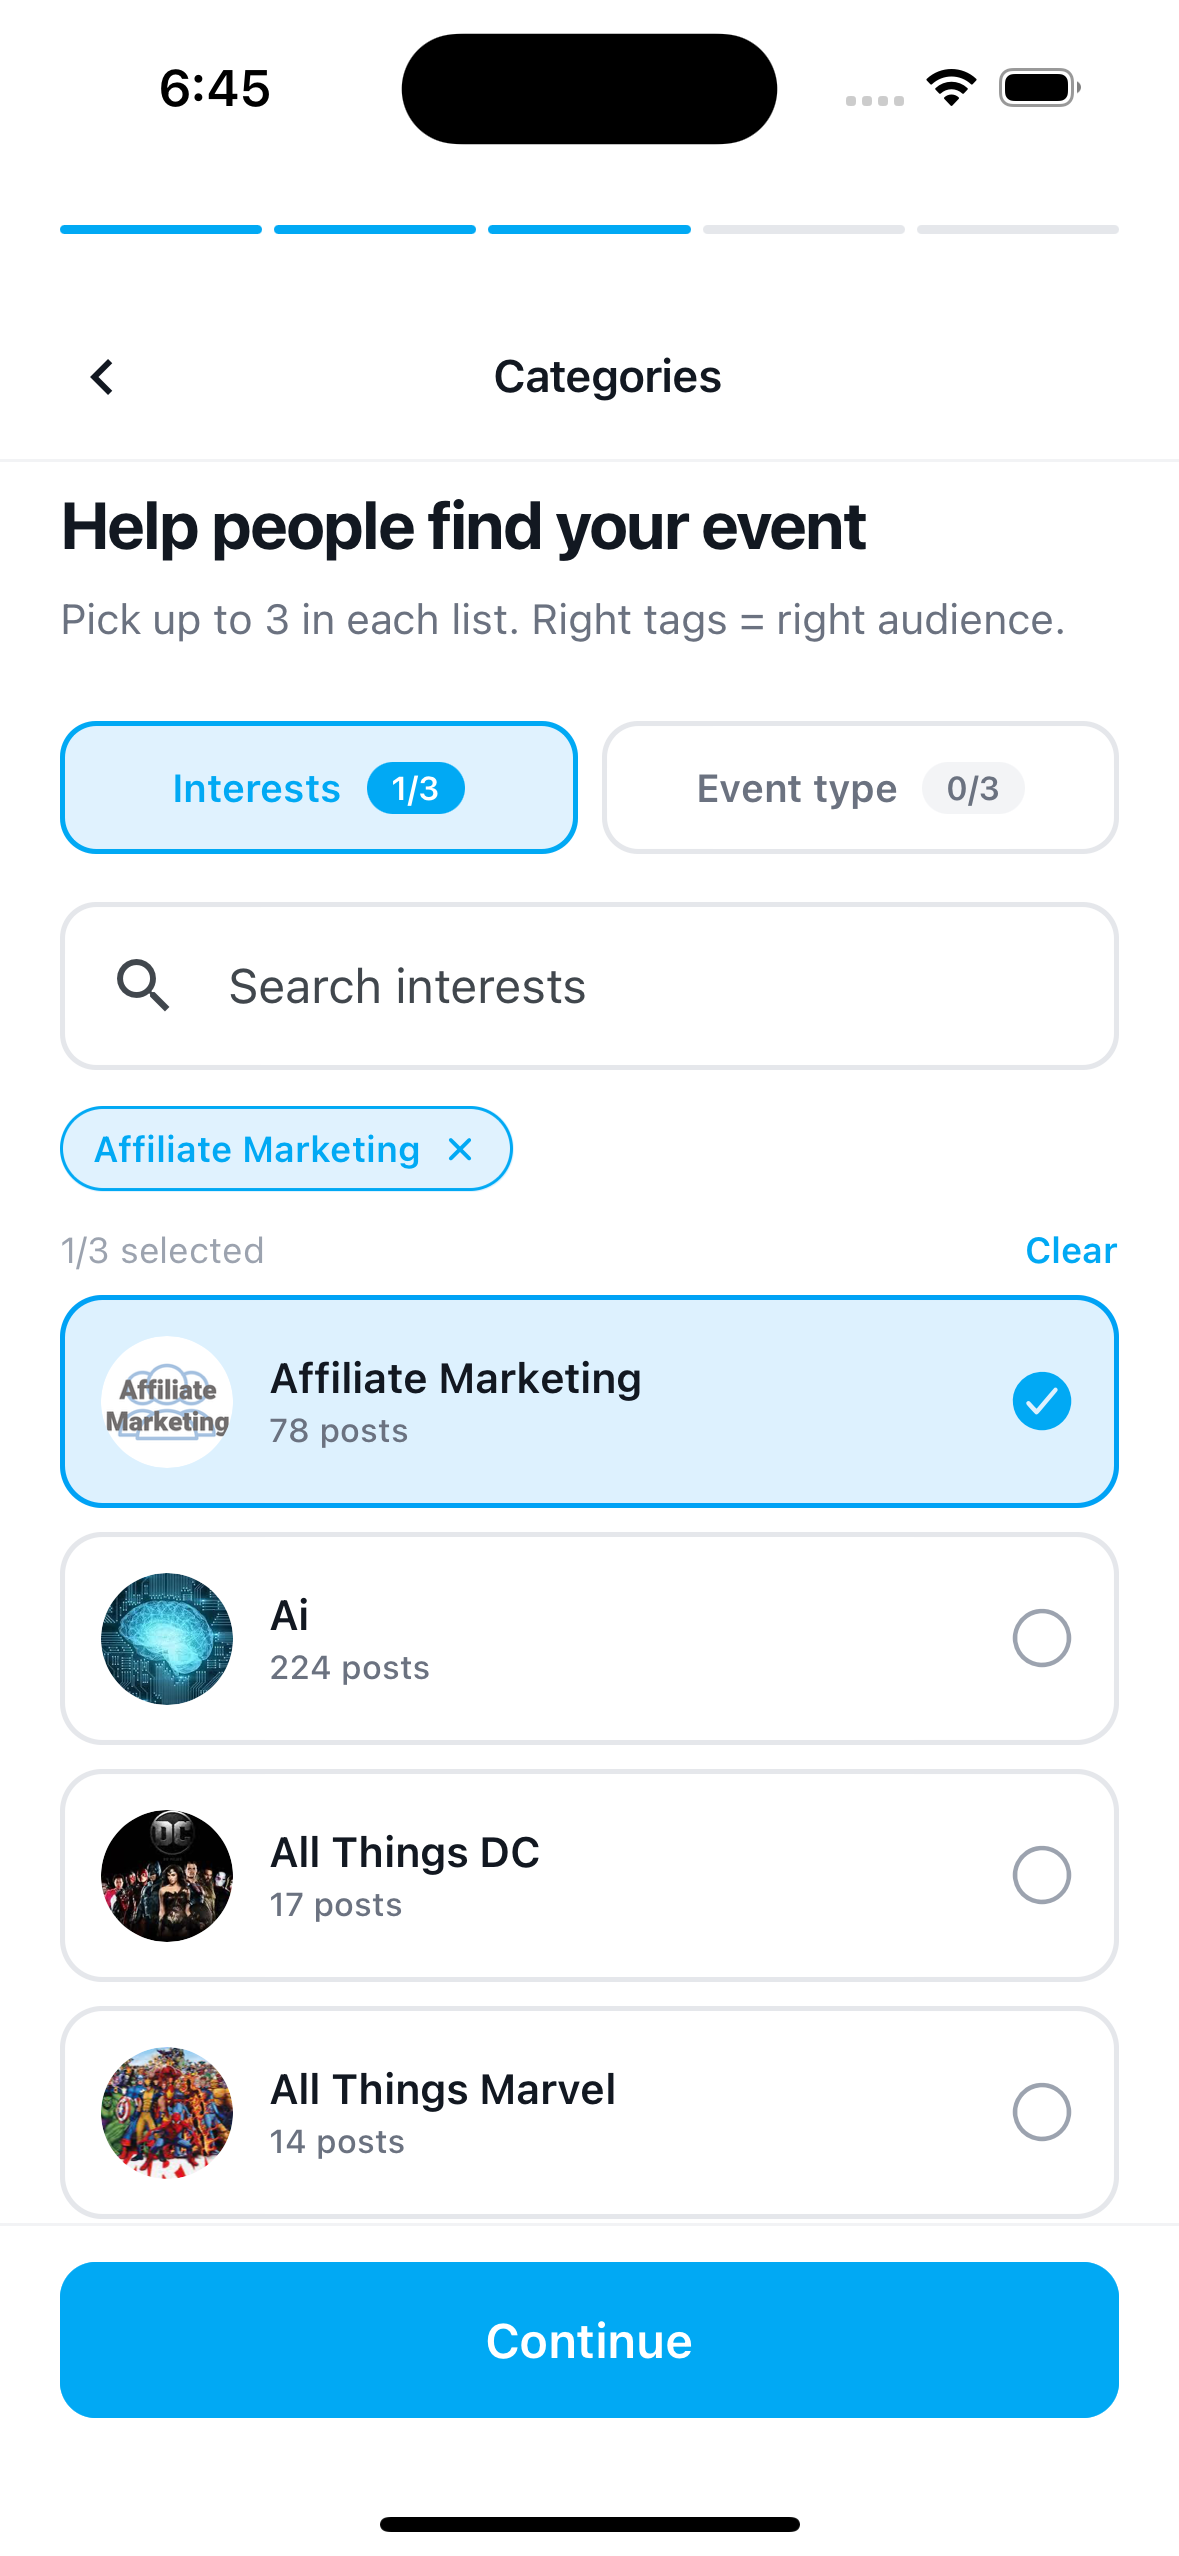
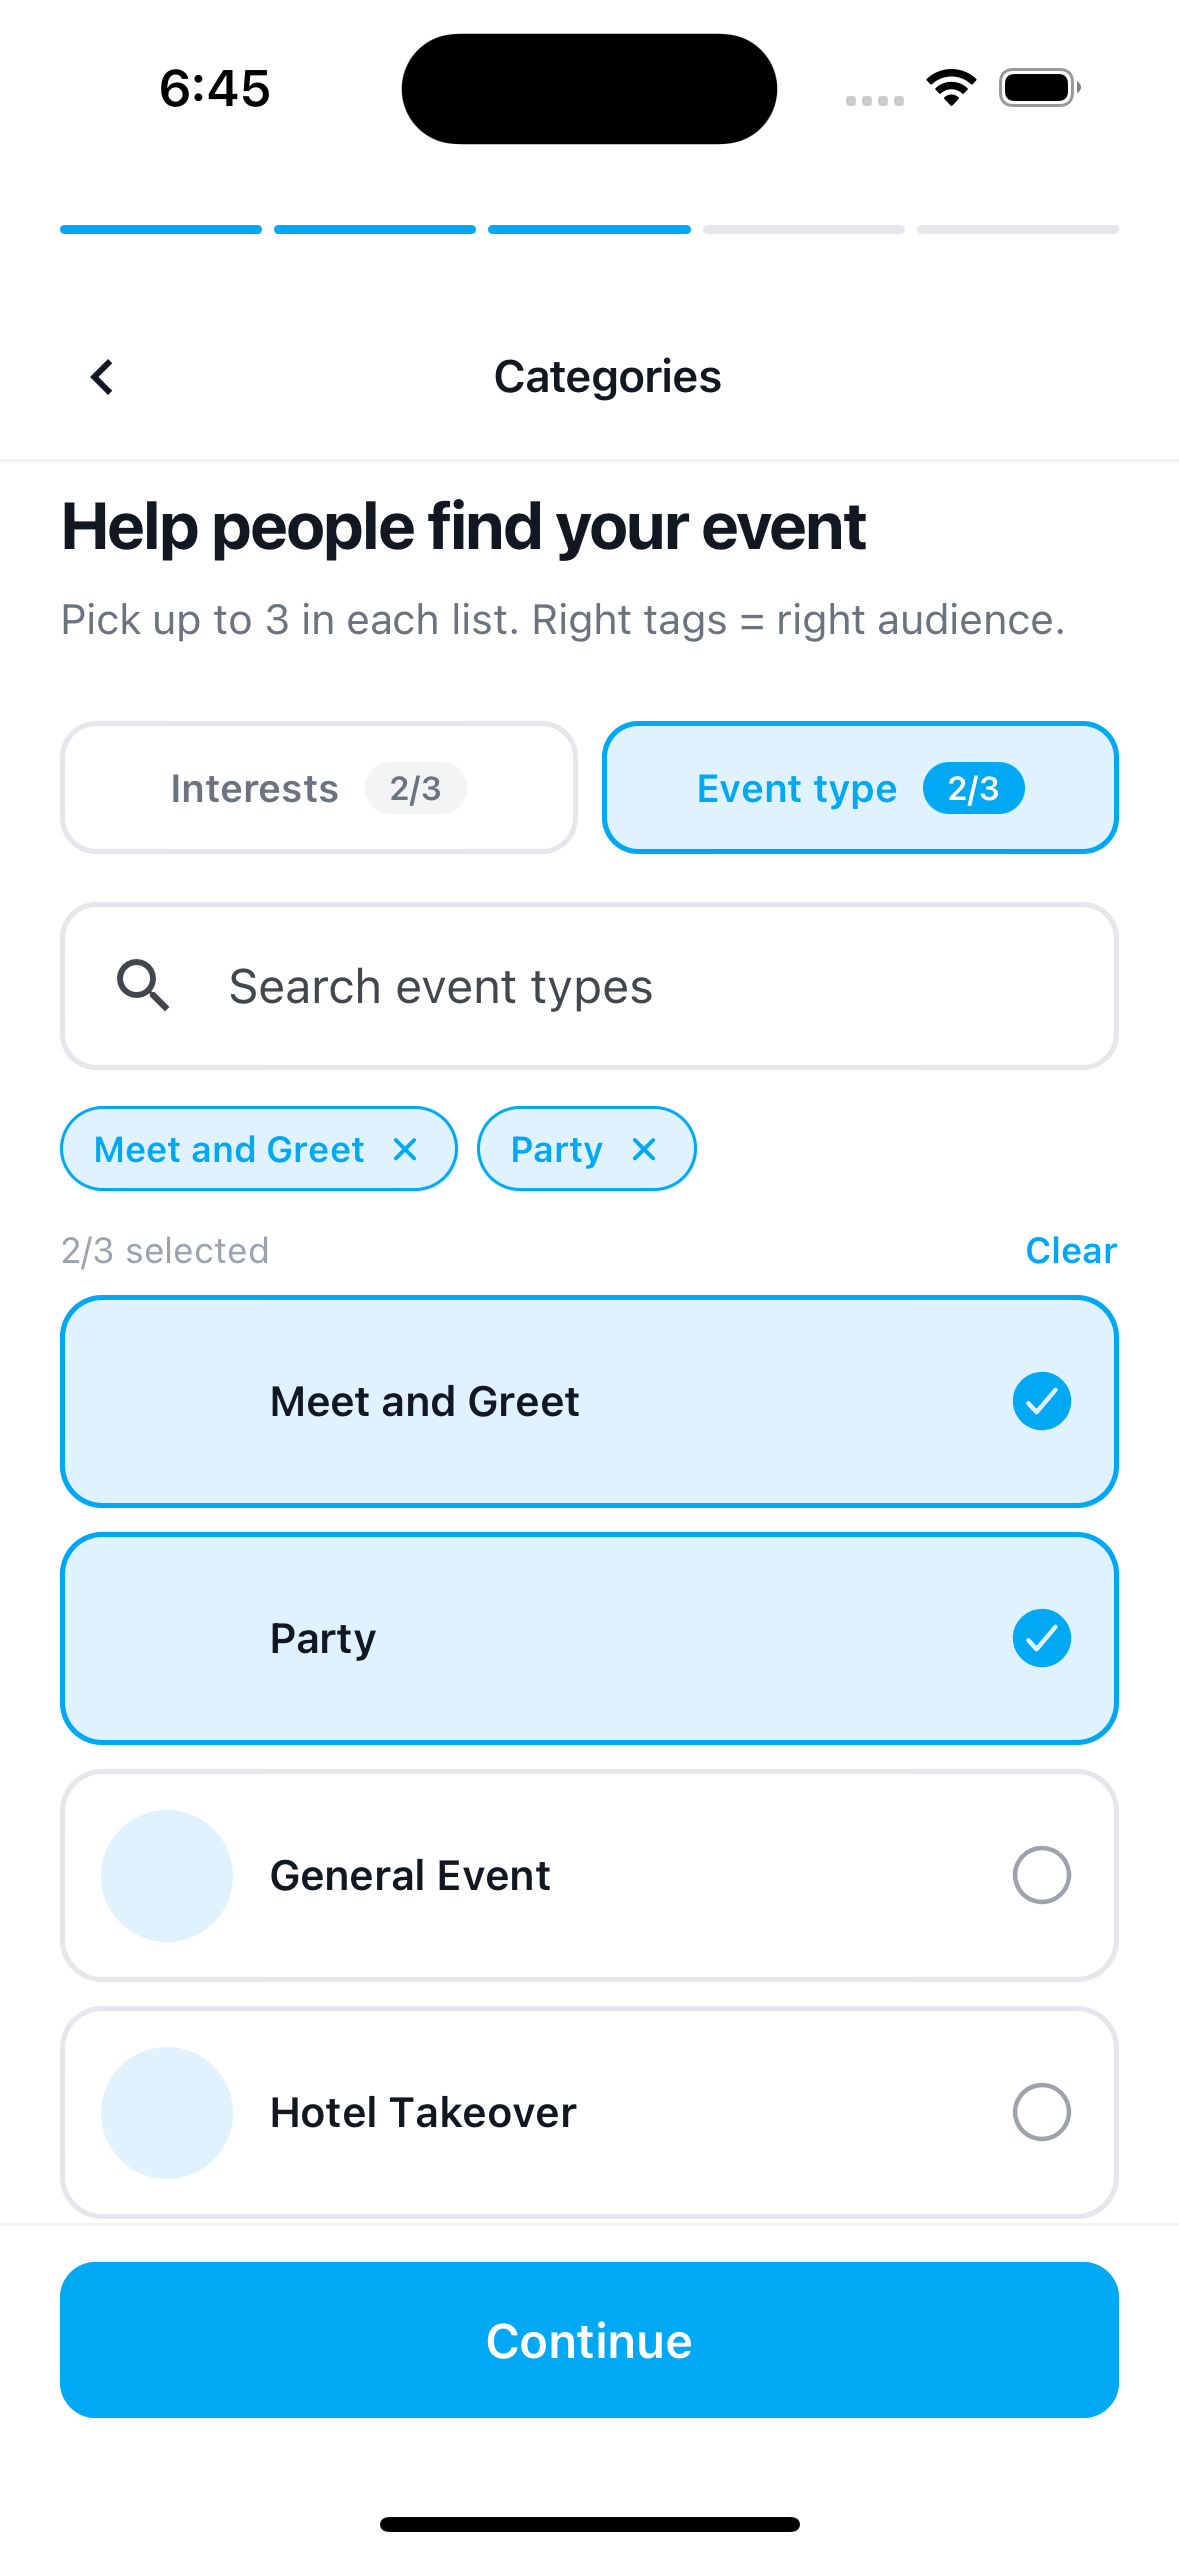
Tags are how the right people discover your event. There are two lists — Interests and Event type — and you can pick up to 3 in each. Each option shows how many posts already use it, so you can gauge reach.
Choose tags that genuinely match your event; the better the tags, the better the audience Jabburr puts it in front of.
Switch to the Event type tab to tag the kind of event it is — a party, meet and greet, and so on.
Step 4 — Tickets
Add one or more ticket tiers. Make them free, or set a price. You can cap quantity per tier and add an early-bird tier that closes on a date.
Step 5 — Preview & publish
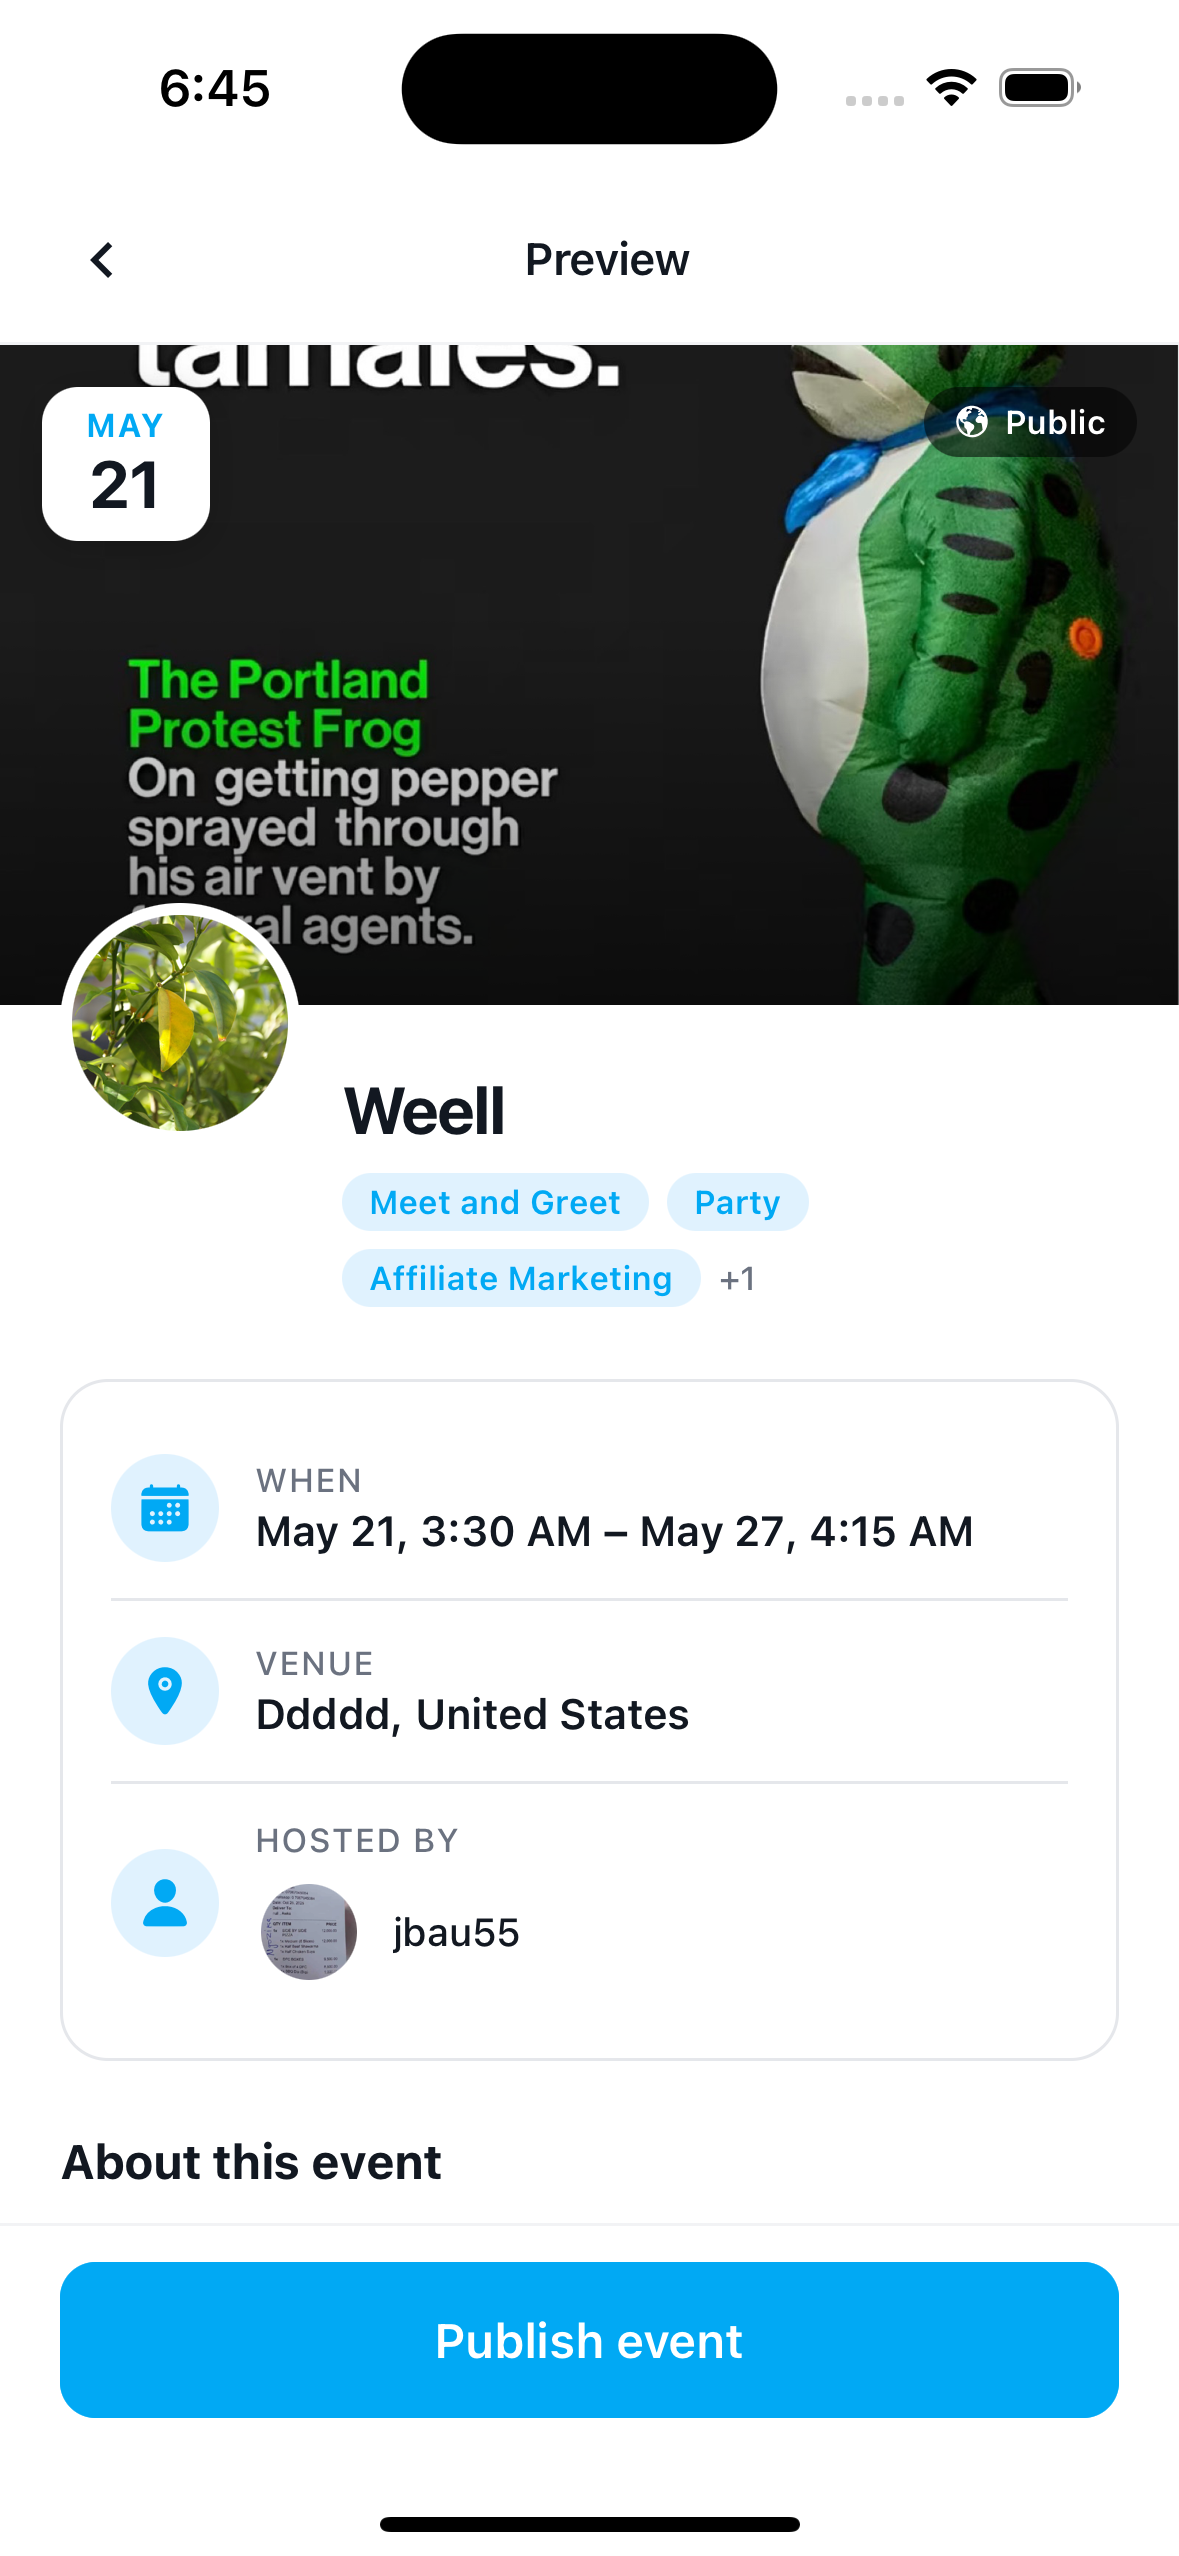
Before anything goes live, you see a full preview of your event exactly as attendees will — cover, title, tags, date range, venue, and who's hosting. Check it over, then tap Publish event.
Once published, your event lands in the feeds of people who follow your venue, your scene, or you — no "boost this post" upsell to reach your own followers.
After it's live
- Share the event to your profile and other socials.
- Watch Going / Interested climb in real time.
- Scan tickets at the door from the same app (see Scanning tickets).
- Get paid weekly by direct deposit (see When you get paid).